

If you’re researching how to build a sauna, start with the parts you can’t easily change later: size, ventilation, moisture control, heater capacity, and safe clearances. The wood finish matters, but it comes after the room works on paper. A sensible build sequence can help prevent expensive tear-outs.
Short answer: Start with the heater and room size, not the wall finish. Choose a dry, level location; frame and insulate the shell; add a sealed foil vapor layer; create the required ventilation path; and then install the cladding, benches, lighting, and heat source according to manufacturer clearances and local codes.
| Decision | Practical starting point | Why it matters |
| Location | Dry, level, and accessible for utilities | Simplifies construction and moisture control |
| Floor | Waterproof and easy to clean | Handles water and repeated moisture exposure |
| Ceiling | Keeps the heated volume compact | Reduces unnecessary space to heat |
| Heater | Select the exact model before framing | Determines capacity, clearances, and service needs |
| Ventilation | Plan supply and exhaust before wall finishes | Supports fresh air and proper heater operation |
| Benches | Plan upper seating early | Heat naturally collects near the ceiling |
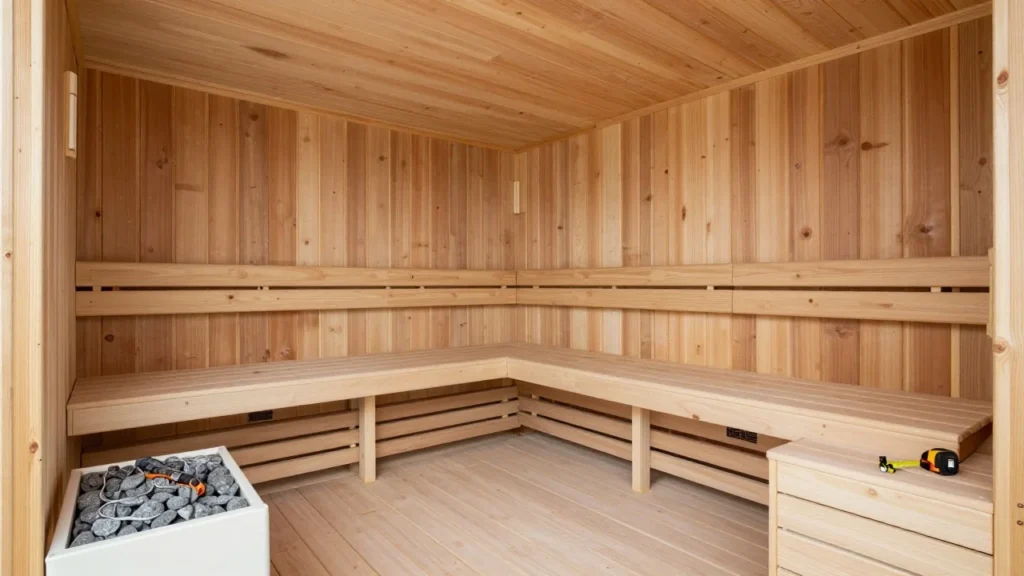
A common two- or three-person home layout is roughly 4 by 6 feet to 5 by 7 feet. A ceiling height of about 7 feet is often preferred because extra height creates more volume to heat. Waterproof flooring is also a practical choice.
Before You Start, Design the Room Around the Heater
The most expensive planning mistake is treating the heater like an appliance you can choose at the end.
First, calculate the room’s length, width, and height. Heater manufacturers use that volume to recommend suitable models. Glass, masonry, and other uninsulated surfaces may increase the required heating capacity.
Choose the heater before you finalize the framing. Its manual will specify minimum distances from walls, benches, ceilings, sensors, and other surfaces. Those dimensions should guide your layout.
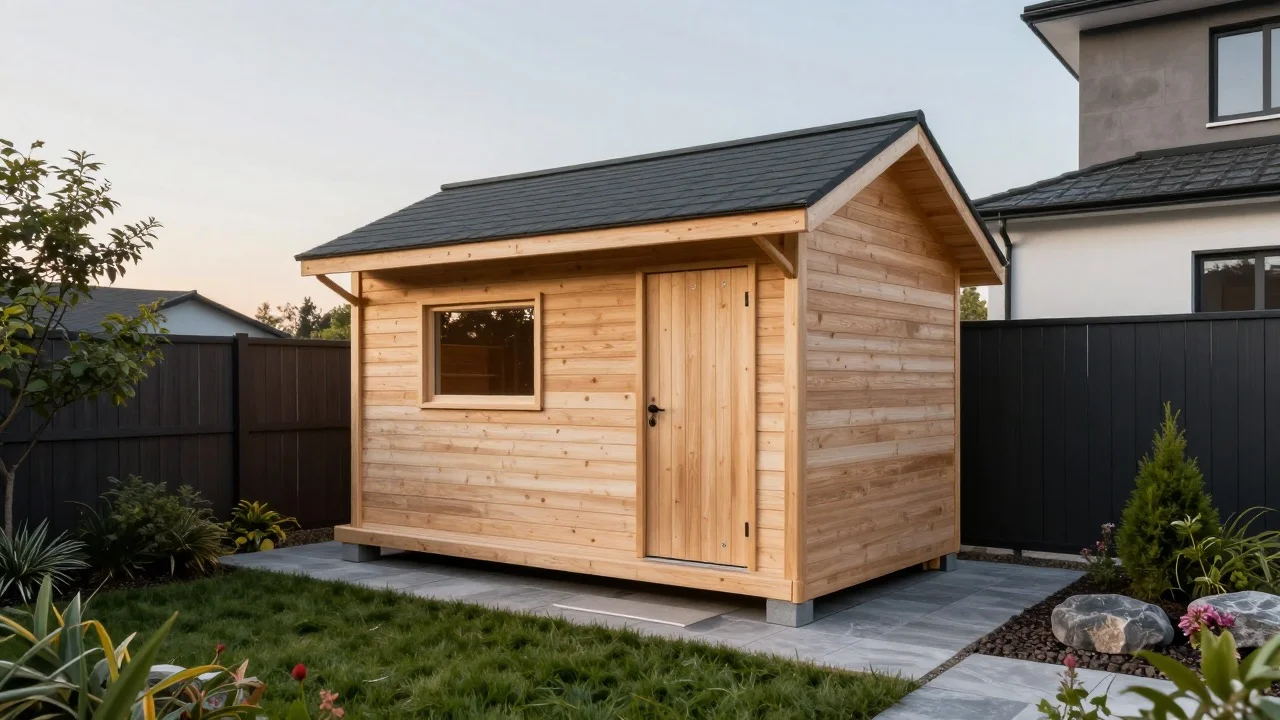
For an outdoor project, think about drainage, privacy, utility routes, and how people will move between the house and the structure. Housnyst’s backyard landscaping ideas can help you plan the surrounding space before construction begins.
What You’ll Need
Your exact materials will depend on whether you’re converting an indoor room or building a detached structure. A typical project may require:
- Framing lumber
- Mineral wool or another suitable insulation system
- A high-temperature foil vapor-control membrane
- Foil-compatible seam tape
- Furring strips or battens
- Interior cladding boards
- Bench lumber
- Corrosion-resistant fasteners
- Waterproof flooring materials
- Rated light fixtures
- A door and hardware
- A heater, controls, and stones
- Vent components
- Basic carpentry and measuring tools
Outdoor structures may also require a suitable base, weather-resistant exterior walls, roofing, flashing, and exterior drainage components.
How to Build a Sauna in 9 Steps
1. Choose the Location and Set the Footprint
Measure the available area and sketch the entire room before buying materials.
An indoor conversion may work in a basement, bathroom area, garage, or another suitable space. Check whether the existing floor and surrounding structure can withstand repeated exposure to moisture.
For a detached building, start with stable ground and a drainage plan. Check local requirements before pouring a foundation or placing a permanent structure.
Mark the heater, door, benches, vents, and utility routes on the same drawing. This step can reveal clearance problems before they become construction problems.
2. Select the Heater Before You Frame
Calculate the heated room volume and compare it with the manufacturer’s sizing guidance.
Don’t choose a larger unit without checking the manual. More heating output may also require different clearances, wiring, controls, and sensor positions.
Electric and wood-burning models have different construction requirements. An electric unit needs the correct electrical supply, while a wood-fired unit requires an approved flue and chimney system.
A wood-burning installation must also meet the stove manufacturer’s safety distances and applicable local fire and chimney regulations.
3. Build a Waterproof, Easy-to-Care-For Floor
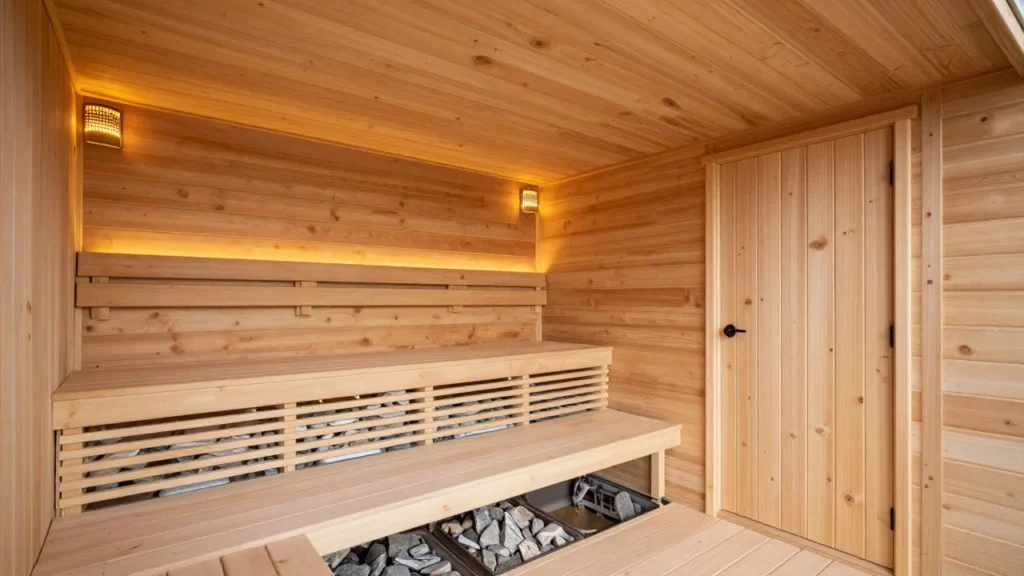
How to build a sauna? The floor needs to tolerate water, cleaning, and temperature changes.
Tile over a suitable waterproof assembly is a common indoor approach. Other materials may also work when their manufacturers approve them for the intended conditions.
If you’re comparing surface types, Housnyst’s guide to moisture-resistant flooring choices explains useful trade-offs for wet household spaces.
A floor drain can make cleaning and water management easier, but whether you need one depends on your design and local construction requirements.
4. Frame the Walls, Ceiling, Door, and Service Routes
Build the shell according to your approved dimensions.
Keep the framing straight because uneven studs will become obvious after the narrow wood boards are installed. Add blocking wherever benches, guards, controls, or accessories will need secure attachment points.
Plan every wire, vent, sensor route, and wall penetration now. Opening a finished wall later can damage the vapor-control layer.
If you’re converting an existing finished room, this Housnyst guide to cutting drywall cleanly can help during careful demolition and access work.
5. Insulate and Seal the Vapor-Control Layer
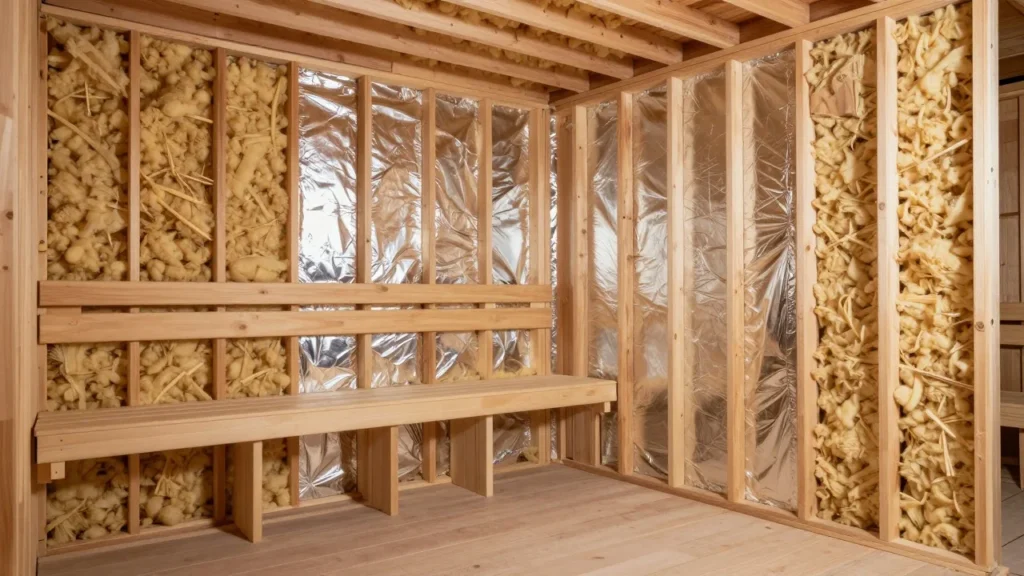
Insulate the framed cavities, including the ceiling.
Then install a foil vapor-control system designed for high-temperature applications. Carefully seal compatible seams and penetrations with the specified tape.
This layer helps control moisture movement into the framed structure. When installed as part of a suitable wall assembly, it can also reflect radiant heat toward the occupied space.
Avoid creating unnecessary holes after sealing the membrane. Add battens over the foil if your wall system requires an air space behind the interior boards.
6. Create the Ventilation Path
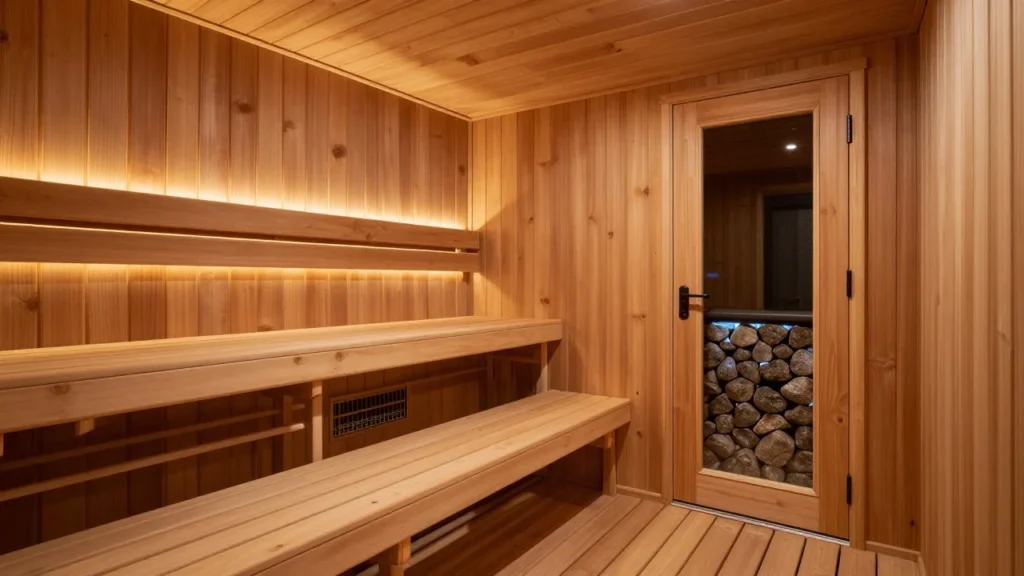
Decide on vent placement before closing the walls.
The correct supply and exhaust locations depend on the type of heater and ventilation system. Mechanically ventilated rooms may require a different arrangement from rooms that rely on natural airflow.
Don’t copy vent locations from an unrelated online diagram. Airflow near temperature sensors can affect heater operation, so follow the instructions supplied with your exact equipment.
You should also plan a way for the room to dry after use. Moisture that remains trapped after heating can shorten the life of the wood and surrounding materials.
7. Install the Heat Source With the Required Clearances
Mount the unit only after confirming that all required safety distances are met.
Electrical connections should follow the heater manufacturer’s instructions and applicable electrical rules. Some installations may require a qualified electrician.
A wood-fired installation deserves the same level of care. Chimney routing, wall protection, combustion clearances, and floor protection are safety systems, not decorative choices.
This is a sensible stage at which to hire a professional, even if you handle the carpentry yourself.
8. Add Interior Wood and Build the Benches
Choose wood that handles heat well and remains comfortable against the skin.
Western red cedar is commonly used because of its stability, moisture resistance, and low resin content. Alder is another suitable interior choice because it remains comfortable to the touch at elevated temperatures.
Use smooth bench boards and round off exposed edges. Keep hot metal fasteners away from areas where bare skin may touch them.
Bench height deserves more attention than decorative wall patterns. Bathers should sit high enough to benefit from the warmer air in the upper part of the room.
9. Fit the Door, Lighting, and Controls, Then Test Everything
Install the door and remaining trim after the major interior work is complete.
Choose lighting designed for the expected heat and moisture levels. For the rest area outside the hot room, Housnyst’s comparison of soft white vs. warm white lighting can help you create a softer evening atmosphere.
Before regular use, inspect the vents, clearances, controls, guards, fasteners, and door operation. Run the equipment according to its commissioning instructions.
Fix anything unusual before anyone uses the room.
What Does a DIY Home Sauna Cost?
A small indoor DIY conversion may cost several thousand dollars in materials. A fully installed home project can cost considerably more.
These figures should be treated as planning ranges rather than fixed prices. Your final total will depend on:
- Heater type and capacity
- Interior wood species
- Amount of glass
- Electrical upgrades
- Chimney work
- Waterproofing
- Exterior foundation and roof work
- Custom doors
- Professional labor
A modest rectangular room with limited glass is generally easier to budget than a custom structure with extensive glazing and premium timber.
Which Parts Can You DIY, and Which Require a Professional?
A useful way to control the project is to decide who will handle each task before construction starts.
| Task | Reasonable DIY territory | Consider professional help when |
| Layout | Measuring and planning | Structural changes are involved |
| Framing | You have solid carpentry skills | Loads, roof work, or complex exterior work are involved |
| Insulation | The room has straightforward framed cavities | The wall system is unusual |
| Interior cladding | You’re comfortable with finish carpentry | Complex profiles or custom detailing are planned |
| Electric heater | Basic layout planning | Final electrical connections are required |
| Wood stove and chimney | Basic location planning | Flue, fire protection, and inspection requirements are involved |
| Waterproofing | You have experience with a proven system | Failure could damage finished living space |
The goal isn’t to outsource every task. It’s to keep high-consequence work in the hands of qualified professionals.
Common Mistakes That Cause Expensive Rework
Buying the heater too late. Its dimensions and clearances affect the entire floor plan.
Ignoring glass in the heat-load calculation. Large uninsulated surfaces can change the required heater capacity.
Building the benches too low. A beautiful interior can still feel disappointing when bathers sit below the warmest air.
Cutting into the vapor layer after finishing. Plan blocking, wires, sensors, and vents before installing the cladding.
Guessing at ventilation. Vent locations depend on the equipment and ventilation method.
Ignoring drying after use. The room needs a practical way for moisture to escape after bathing.
Treating safety clearances as suggestions. They are based on the specific appliance design and must be followed.
Your Next Step
Before buying wood, create a one-page project sheet.
Write down the room dimensions, heater model, required clearances, bench positions, vent locations, flooring system, electrical or chimney route, and door position. Then compare that drawing with the equipment manual and local requirements.
Frequently Asked Questions
Yes, if the location can support the required moisture control, ventilation, flooring system, electrical or chimney work, and manufacturer clearances. Conversions can reduce the amount of exterior construction required, but they may still involve careful demolition and utility upgrades.
Not every design includes one. A drain can make cleaning and water management easier, but whether you need one depends on the room design and applicable local requirements.
Choose smooth, low-resin wood that remains comfortable against the skin at elevated temperatures. Cedar and alder are established options. Avoid exposed metal in places where someone may touch it while seated.
Design the room around the exact heater first. Follow its capacity limits and safety clearances, plan ventilation before closing the walls, use a suitable moisture-control system, and leave regulated electrical, chimney, or structural work to qualified professionals when required.